Video
Video SMS Services
 Health
Fiber Optic Modem User Guide
Huawei ONT HG8245Q2 User Manual
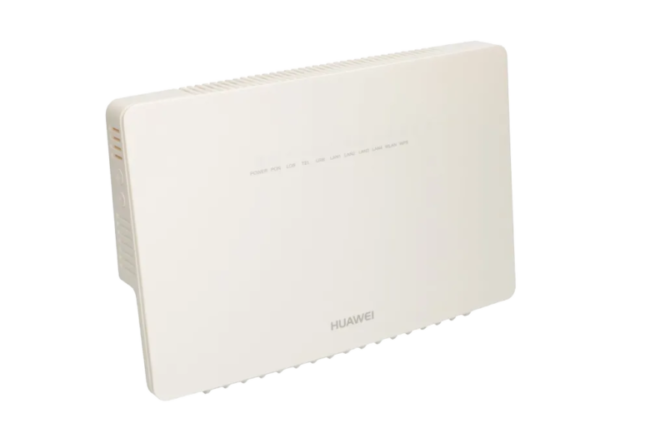
* Introduction
The HG8245Q2 modem, in addition to supporting high-speed GPON fiber internet, offers multiple features including Port Forwarding, Wi-Fi management, file sharing, and advanced security settings.
This Huawei fiber optic modem has the following specifications:
- 3 internal antennas
- 1 SC/UPC connector
- Supports MIMO 3×3, GPON, and VOIP technologies
- Supports dual-band Wi-Fi: 2.4 GHz and 5.8 GHz
- Wi-Fi speed: 450 Mbps for 2.4 GHz
- Wi-Fi speed: 1300 Mbps for 5.8 GHz
- 4 RJ45 Ethernet ports
- 2 USB ports
- 1 telephone port
- Antenna gain: 2 dBi

* Main Components
- Fiber optic connector
- Ethernet ports
- Telephone port
- USB ports
- Power adapter connector
- Power button
- WLAN button
- WPS button
- Reset button
* LED Indicators
The HG8245Q2 modem features 11 LED indicators, explained as follows:
|
LED |
Description |
|
Power |
Modem power status |
|
PON |
Fiber optic connection status |
|
LOS |
Fiber connection loss or error |
|
TEL |
Telephone line active |
|
USB |
USB port usage status |
|
LAN1 / LAN2 / LAN3 / LAN4 |
Data transfer via Ethernet cable |
|
WLAN |
Wi-Fi network active |
|
WPS |
Wireless device connection status |
|
LED |
|
|
Description |
|
Power |
|
|
Modem power status |
|
PON |
|
|
Fiber optic connection status |
|
LOS |
|
|
Fiber connection loss or error |
|
TEL |
|
|
Telephone line active |
|
USB |
|
|
USB port usage status |
|
LAN1 / LAN2 / LAN3 / LAN4 |
|
|
Data transfer via Ethernet cable |
|
WLAN |
|
|
Wi-Fi network active |
|
WPS |
|
|
Wireless device connection status |
PON LED
Indicates the fiber optic connection between the modem and the network. When the fiber cable is connected, the LED blinks green. Once the modem connects to the internet, the LED remains solid green. A red LED indicates a connection problem.
LOS LED
Indicates the fiber optic link to the central network. A red or blinking LED typically signals a fault in the fiber connection, such as a loose or disconnected cable, a dirty fiber connector, or a disruption with the central network. Normally, this LED should remain off.
When using an Ethernet cable, a green Power LED, off LOS LED, green PON LED, and blinking LAN LED indicate that all connections are correctly established and the modem is ready for Rightel high-speed fiber optic internet.
* Setup and Accessing the Modem Panel
The HG8245Q2 settings panel allows you to change Wi-Fi credentials, manage connected devices, enable/disable ports, and configure security settings.
Setup Steps:
- Connect the modem’s adapter to power and plug it into the modem.
- Press the Power button to turn on the modem. The device will boot with default settings.
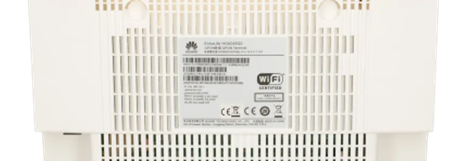
- Connect via Ethernet or Wi-Fi. The SSID and Wi-Fi password are printed on the label at the back of the device.
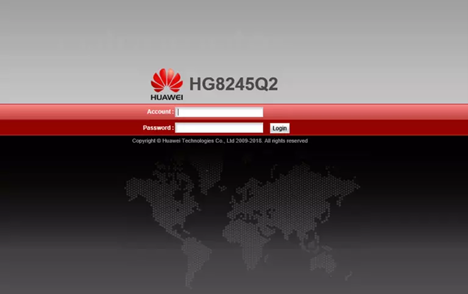
- Open a web browser and enter 192.168.100.1 in the address bar to access the modem settings panel.

* Default Login Credentials
Username: root
Password: admin
These are printed on the device label.
If login fails, the password may have been changed. You can recover it or perform a factory reset to regain default access.
* Factory Reset
If you forget the login password for the modem interface or configuration settings, you may need to restore the device to its factory defaults.
A factory reset of the HG8245Q2 modem is recommended only when password recovery through customer support is not available.
Reset Steps:
- Turn on the modem.
- Locate the Reset button at the back or bottom of the modem.
- Using a pointed object (e.g., SIM card pin), press and hold the Reset button for 10 seconds.
- Once the LEDs blink, the modem will automatically reset to factory settings.
After resetting, you must reconfigure internet settings, Wi-Fi name/password, and other preferences.
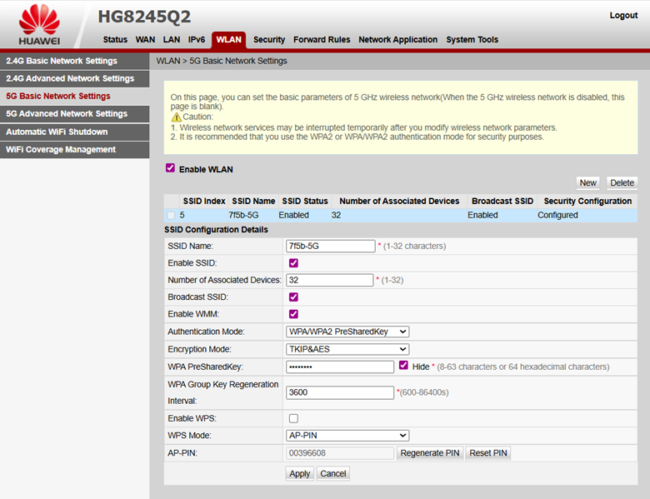
* Wi-Fi Configuration
The HG8245Q2 supports 2.4 GHz and 5.8 GHz bands.
From the WLAN section, you can configure:
- Change SSID
- Change Wi-Fi password
- Select security type
- Set the number of allowed connected devices
- Enable/disable WPS
- Enable/disable the Wi-Fi network
Advanced settings for each band can be configured under Advanced Network Settings.
After making changes, click Apply to save and activate the settings.
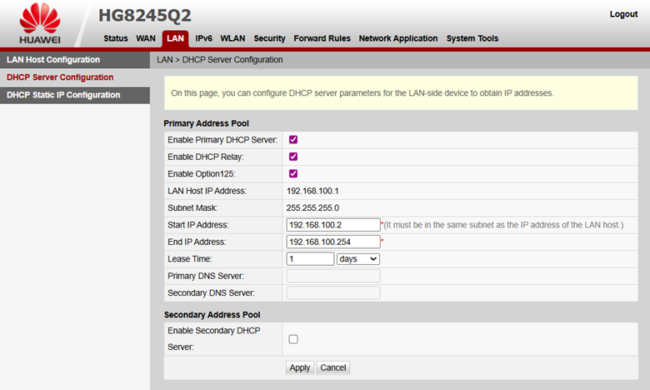
* Changing the Modem’s LAN IP
To change the internal IP of the modem:
- Go to LAN Settings.
- Change the IP to the desired range.
- Restart the modem to apply the new settings.

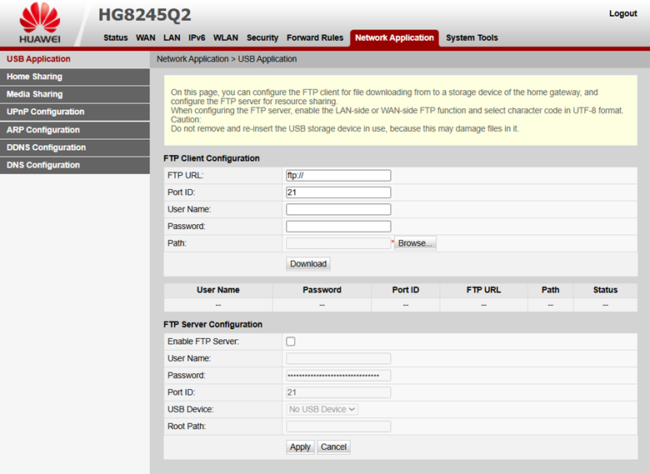
Using the USB Port
To share files from a USB flash drive:
- Access the modem settings page.
- Navigate to Network Applications > USB Application and enable FTP Server.
- Set your desired username and password.
- Enter ftp://192.168.100.1 in the FTP URL field.
The files on the USB drive will now be accessible via the network.